The Basics of Nodes
Created: Feb 17 2022 || Edited: Feb 22 2022
Created: Feb 17 2022 || Edited: Feb 22 2022
Nodes
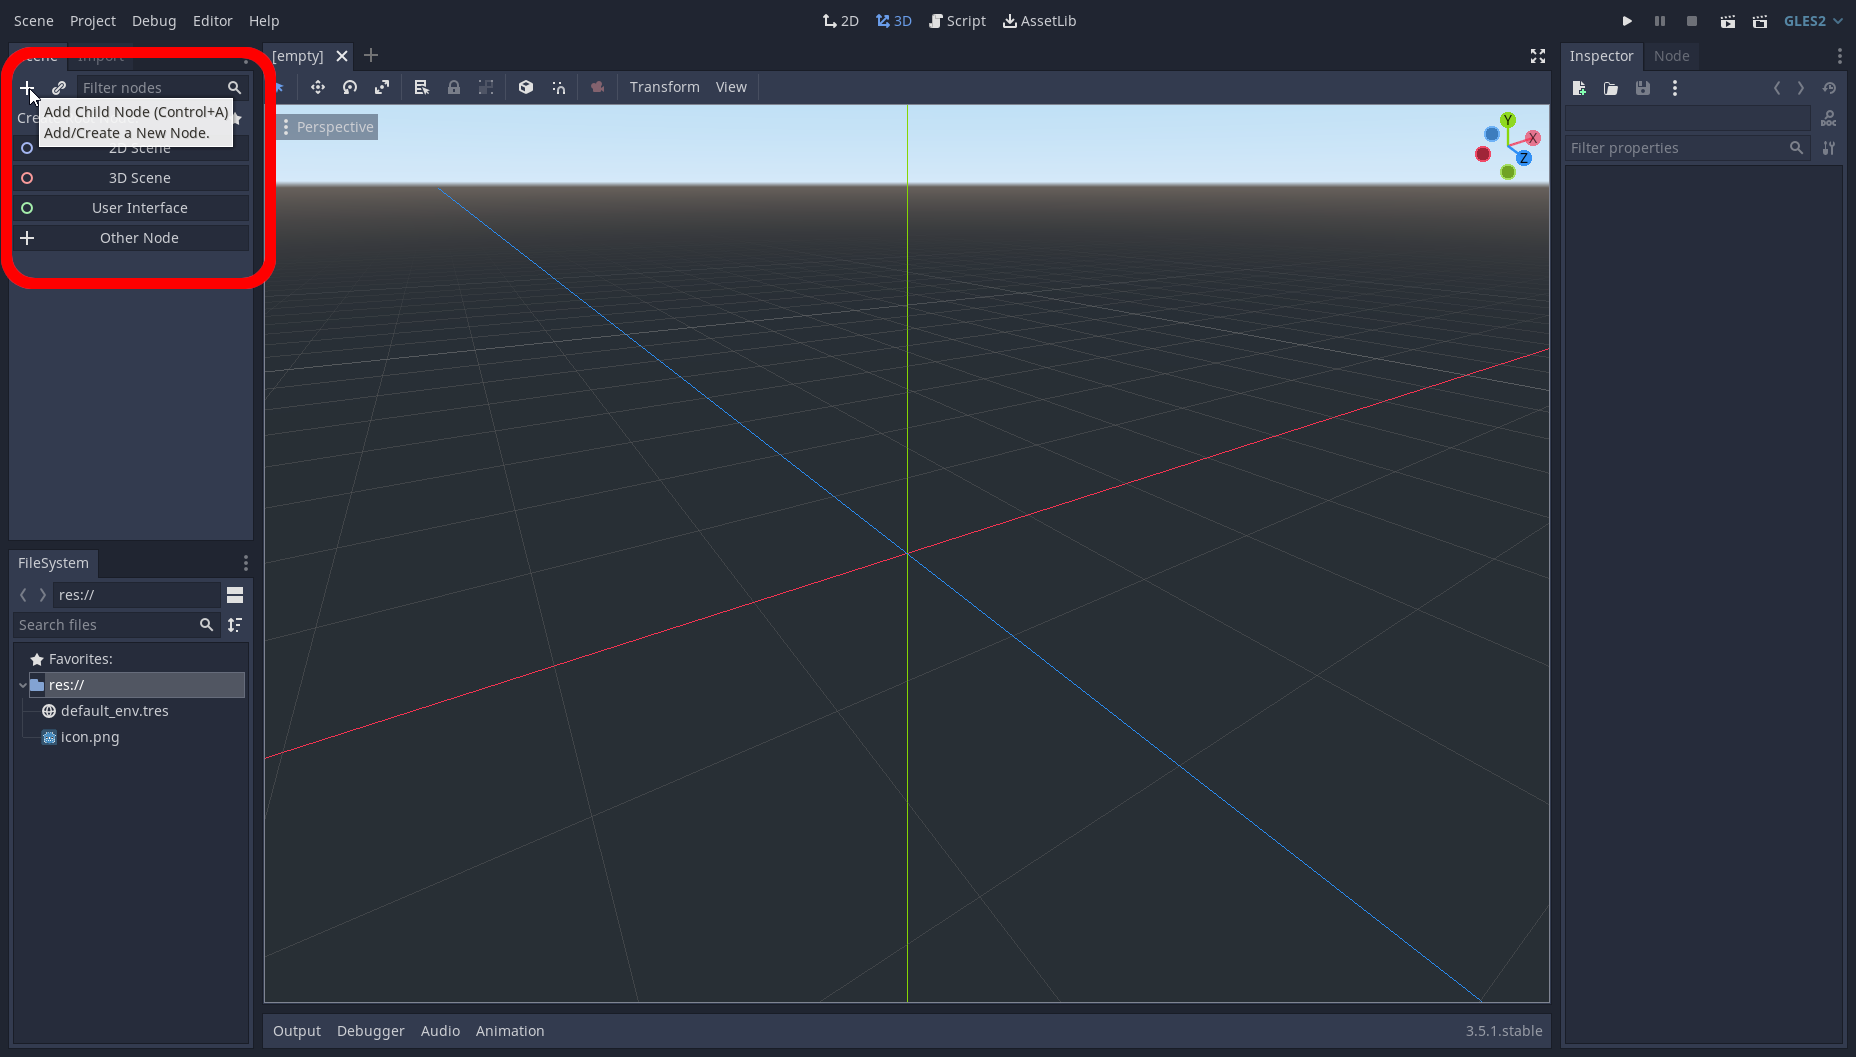
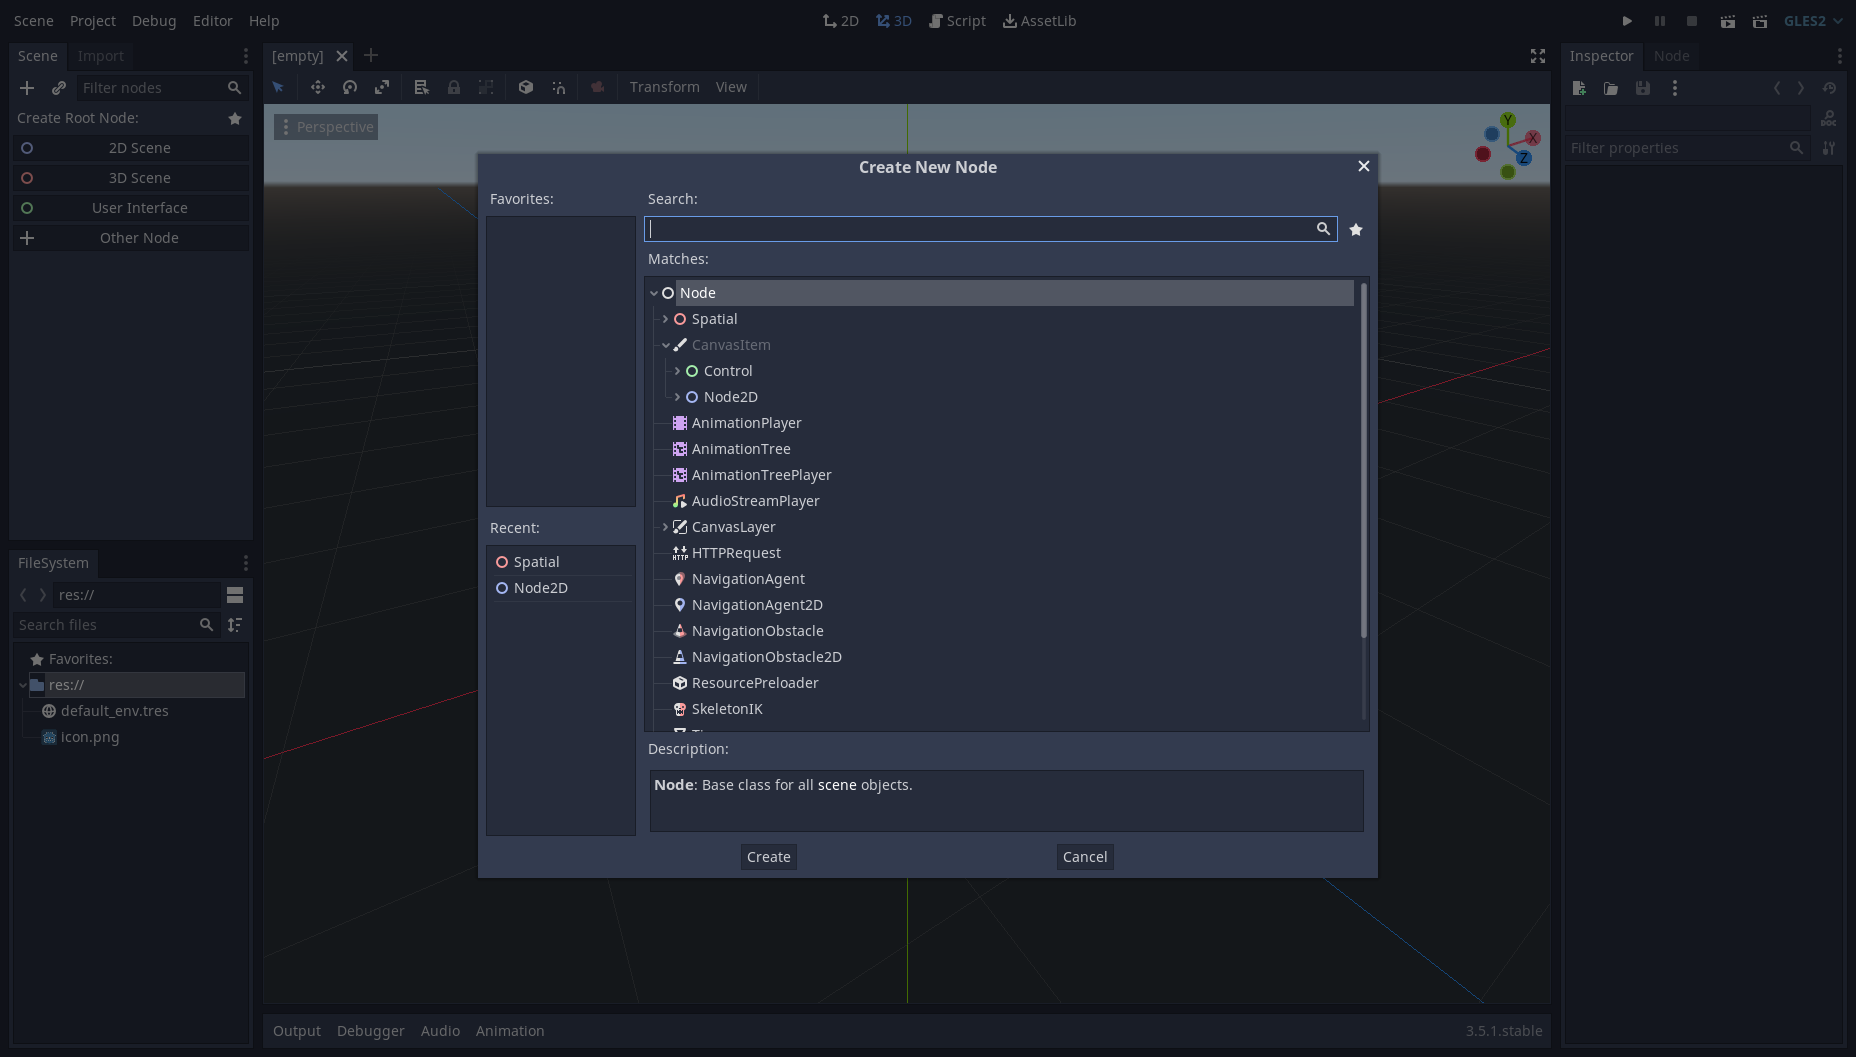
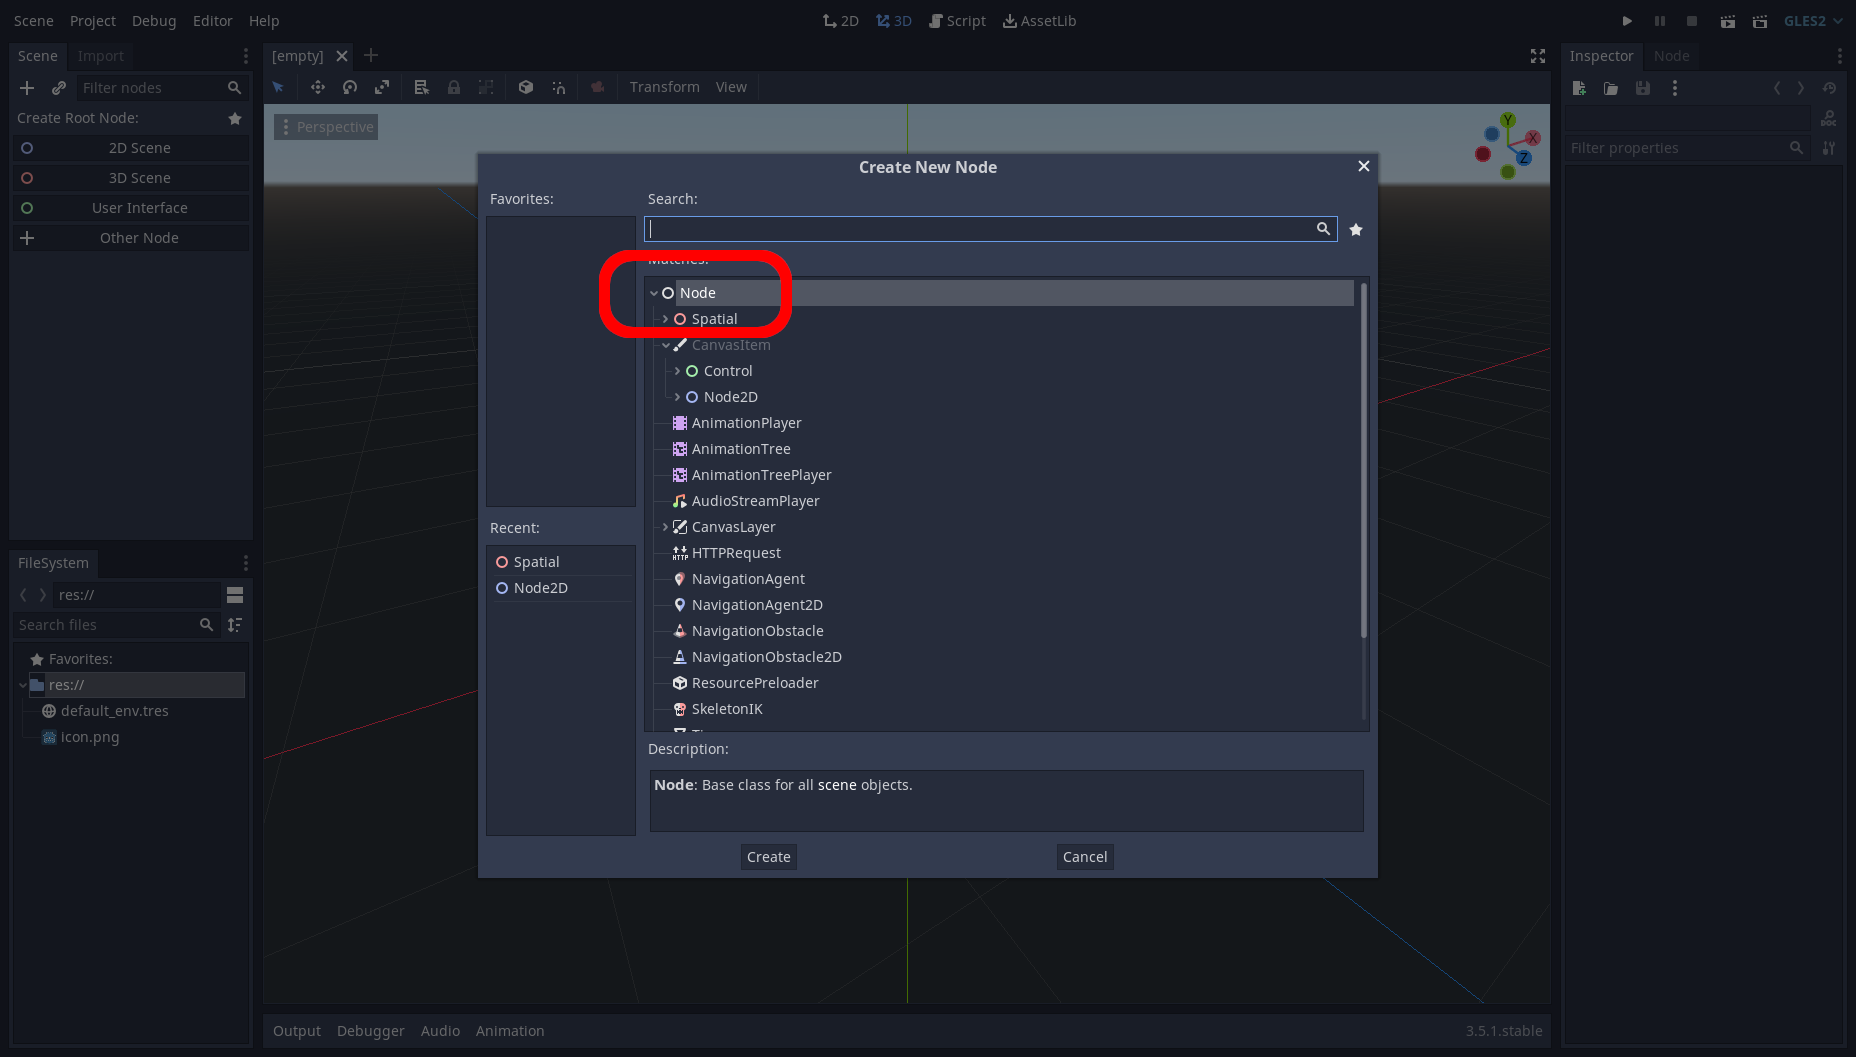
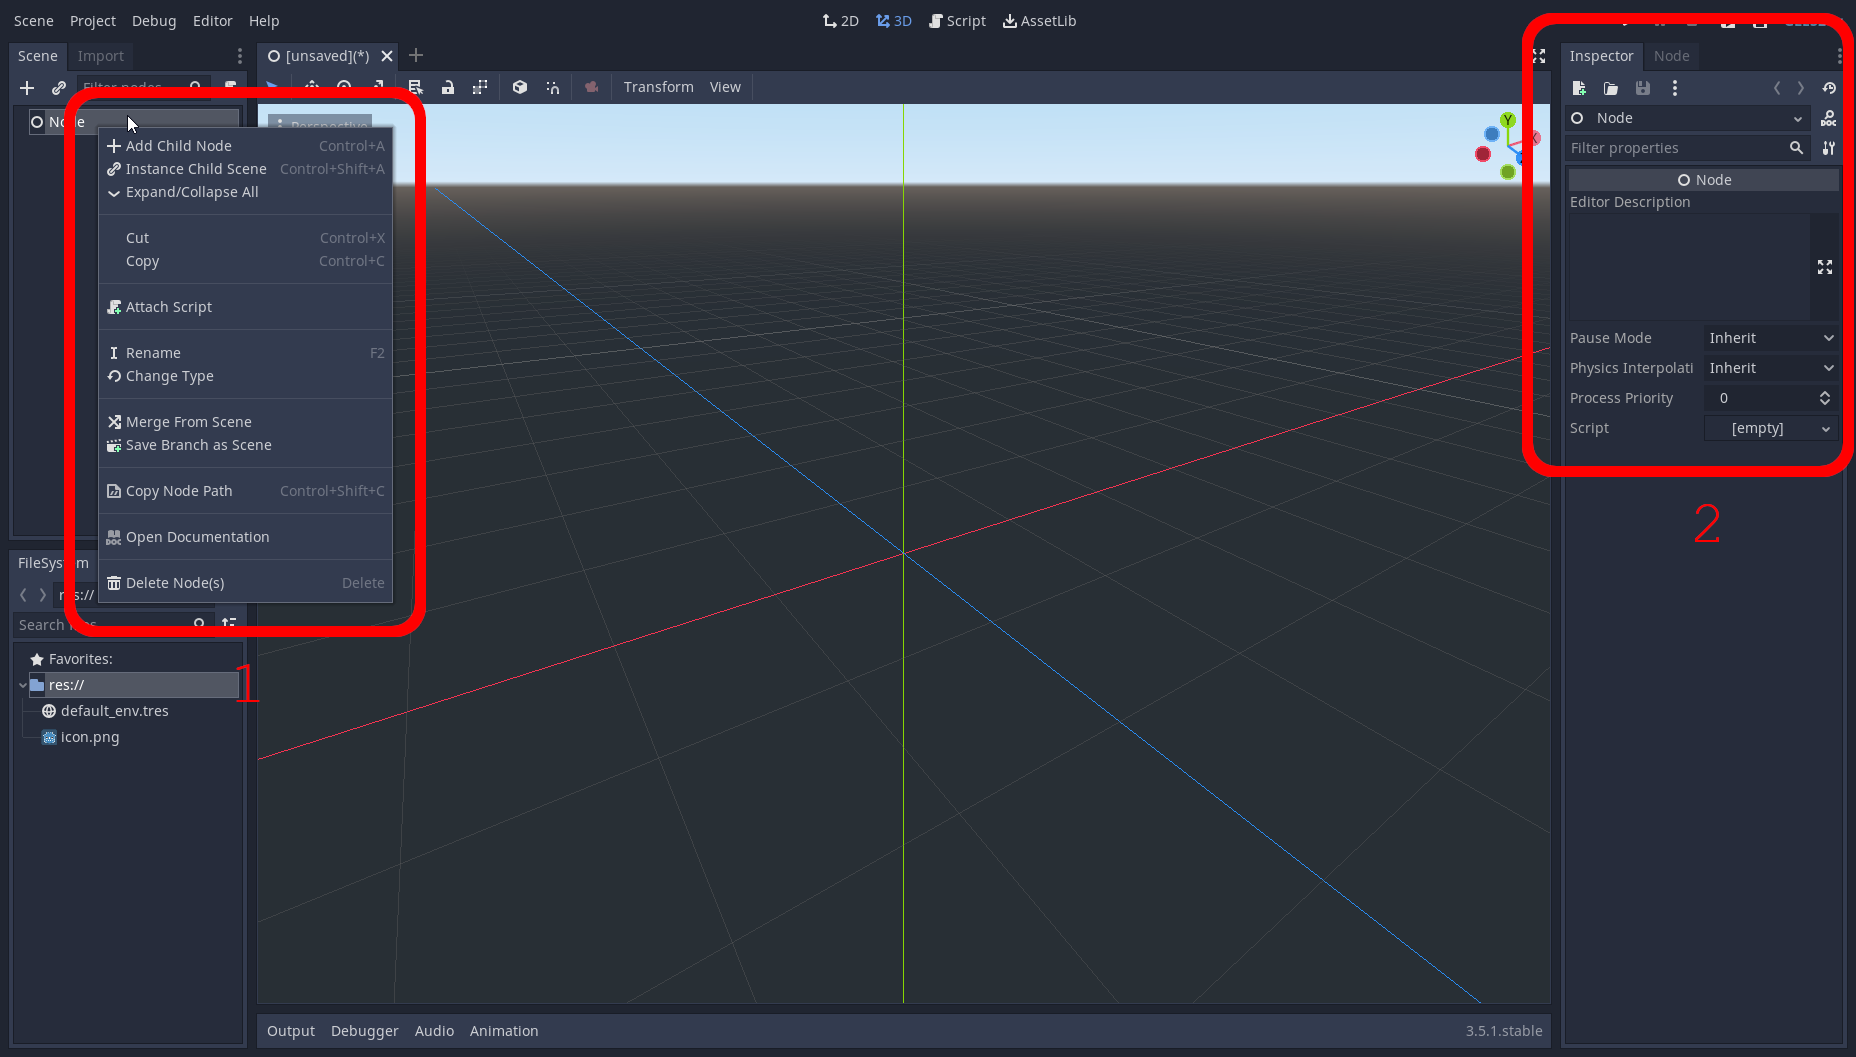
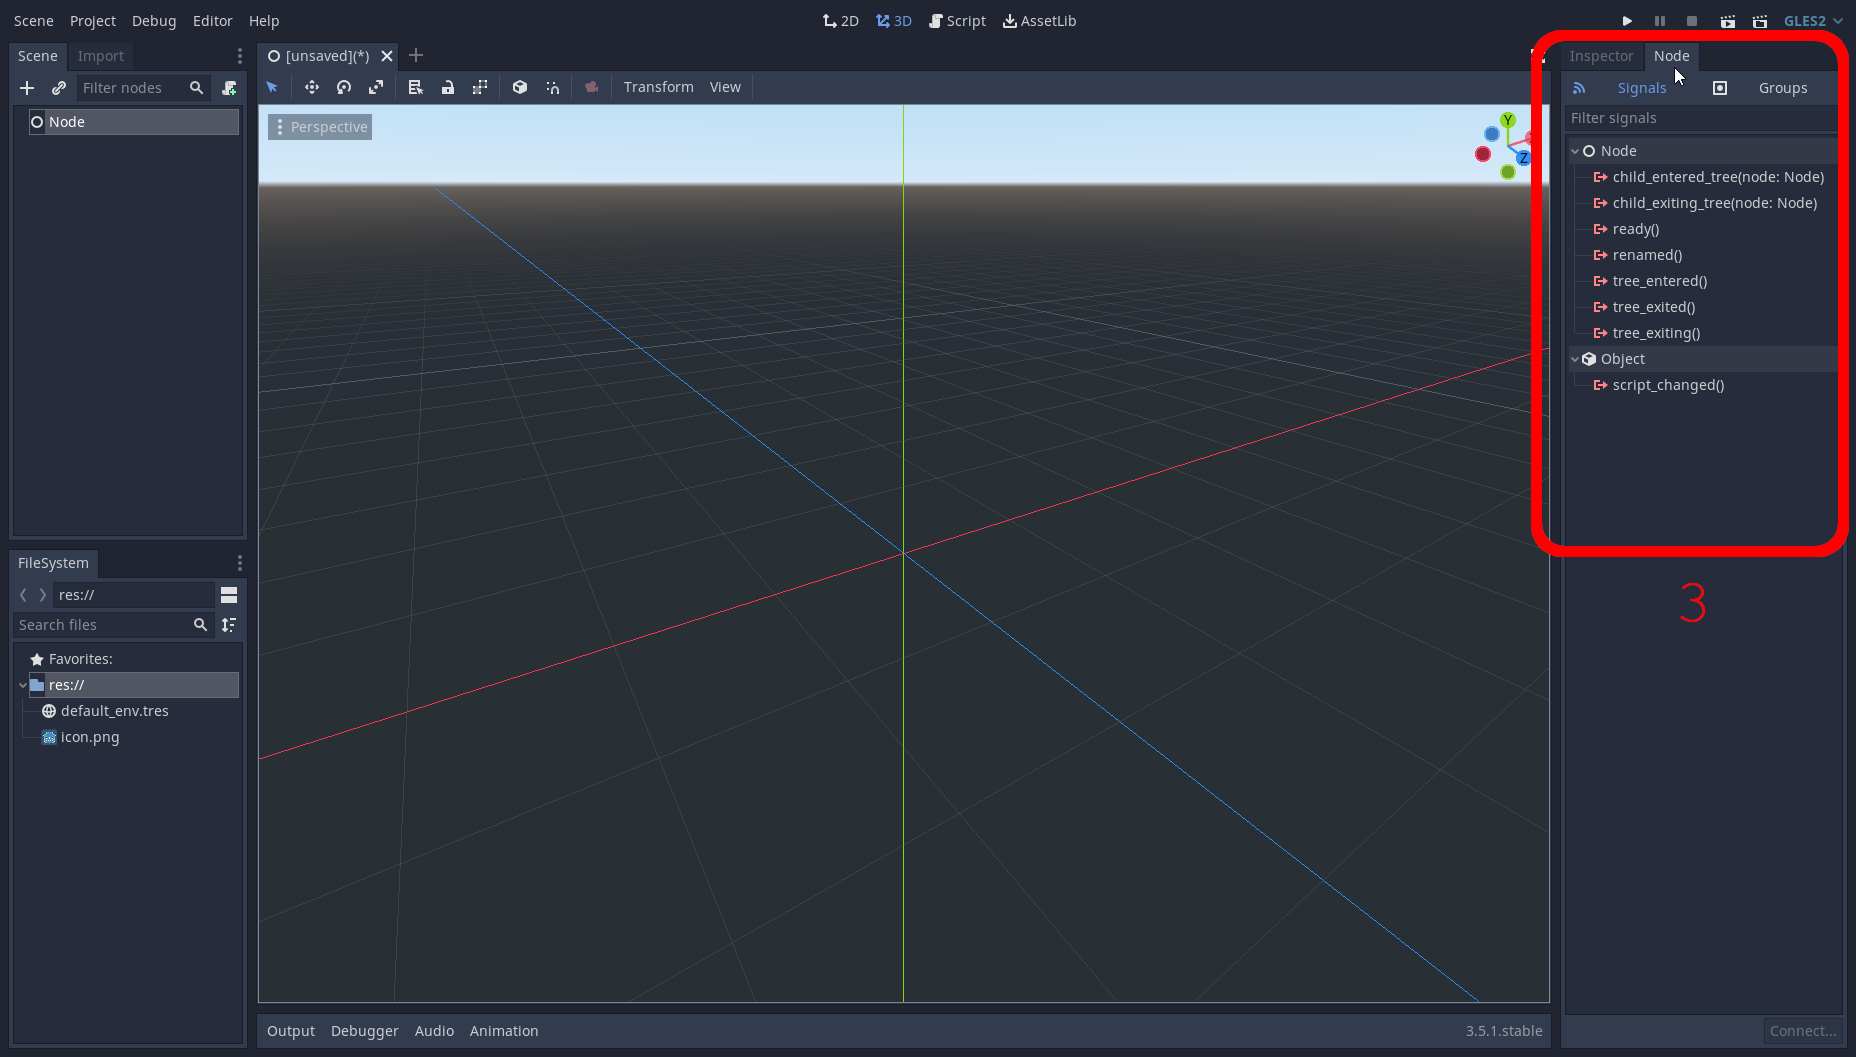
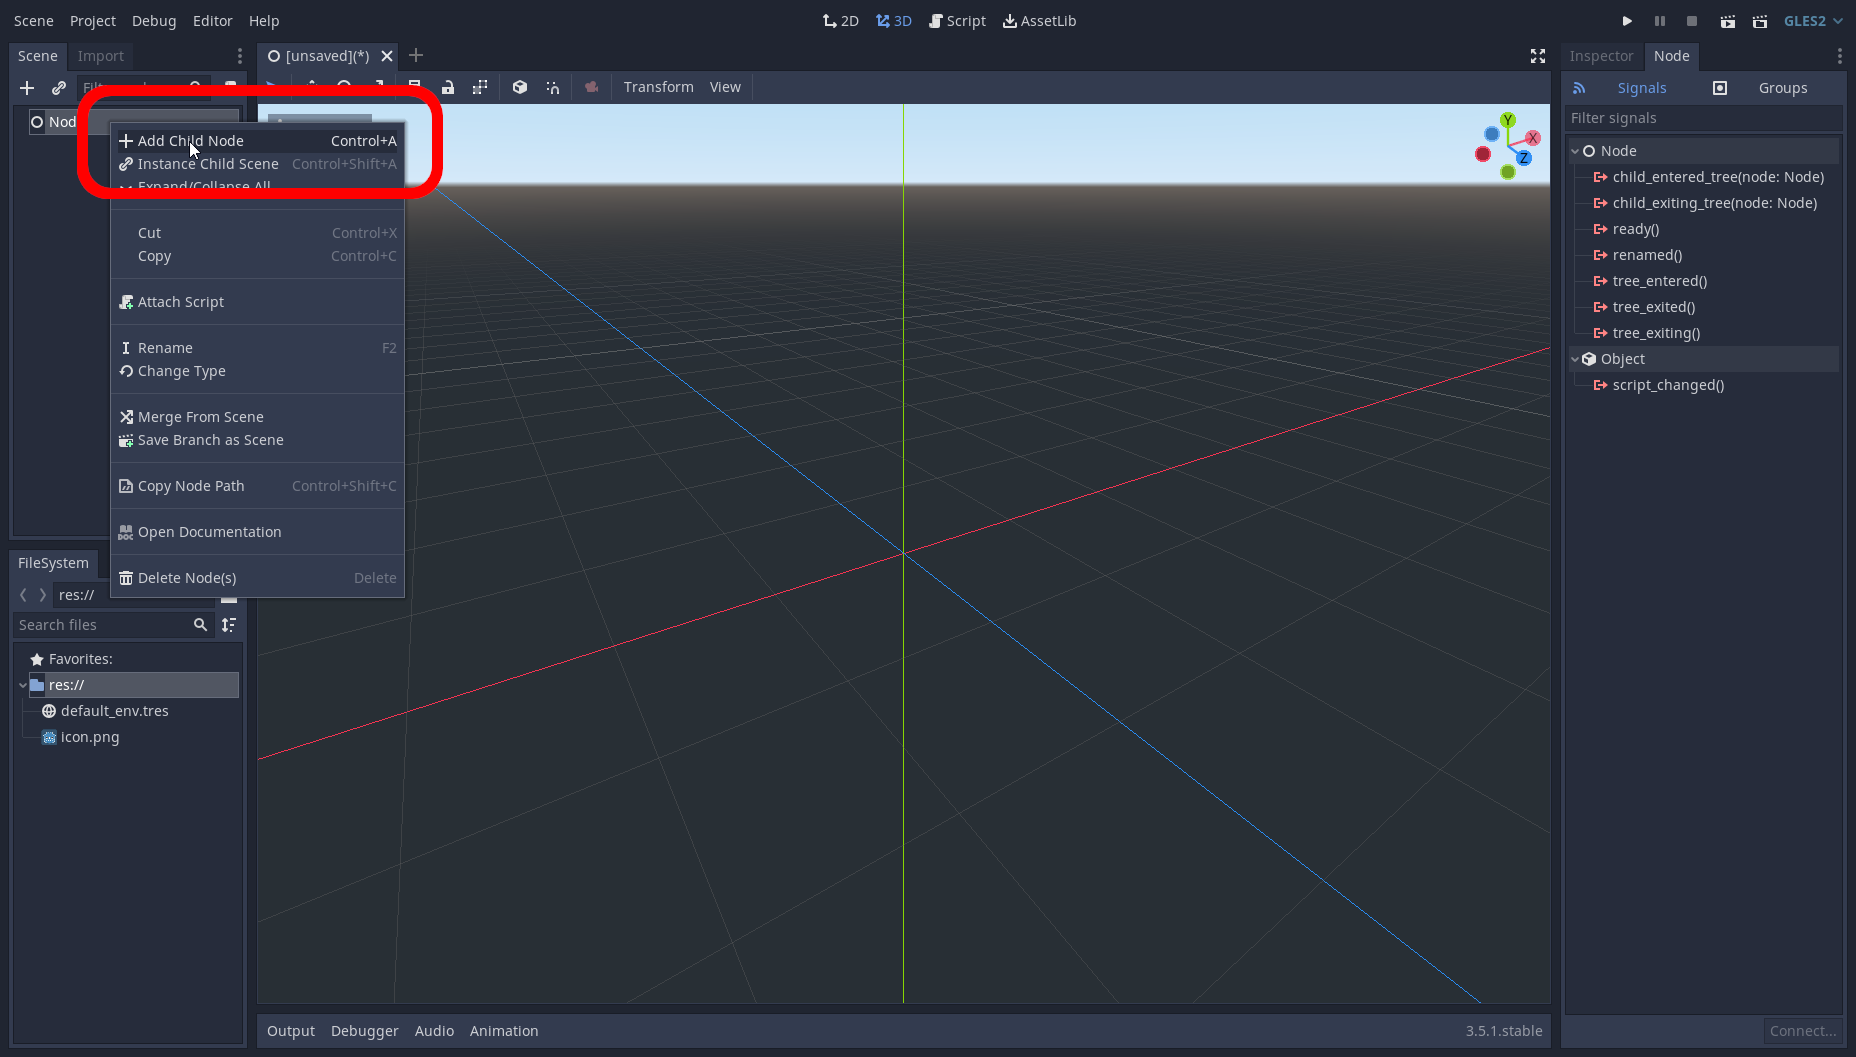
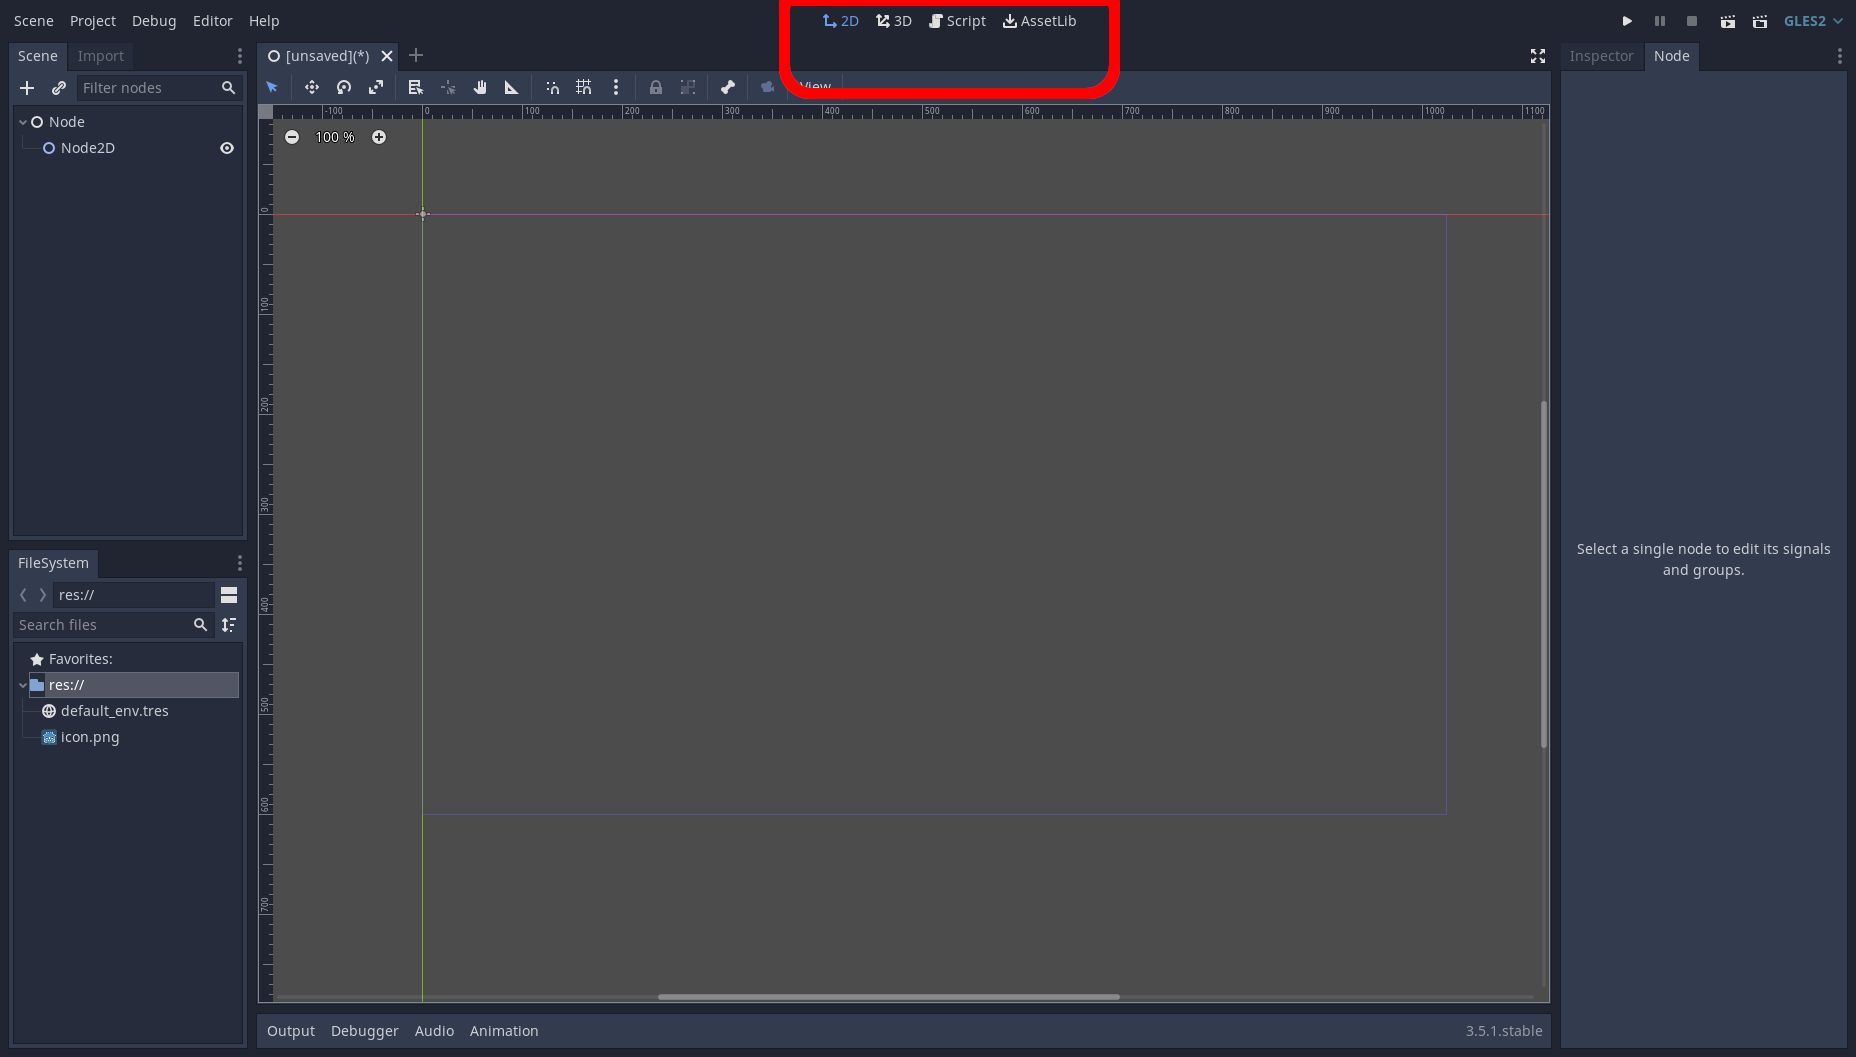
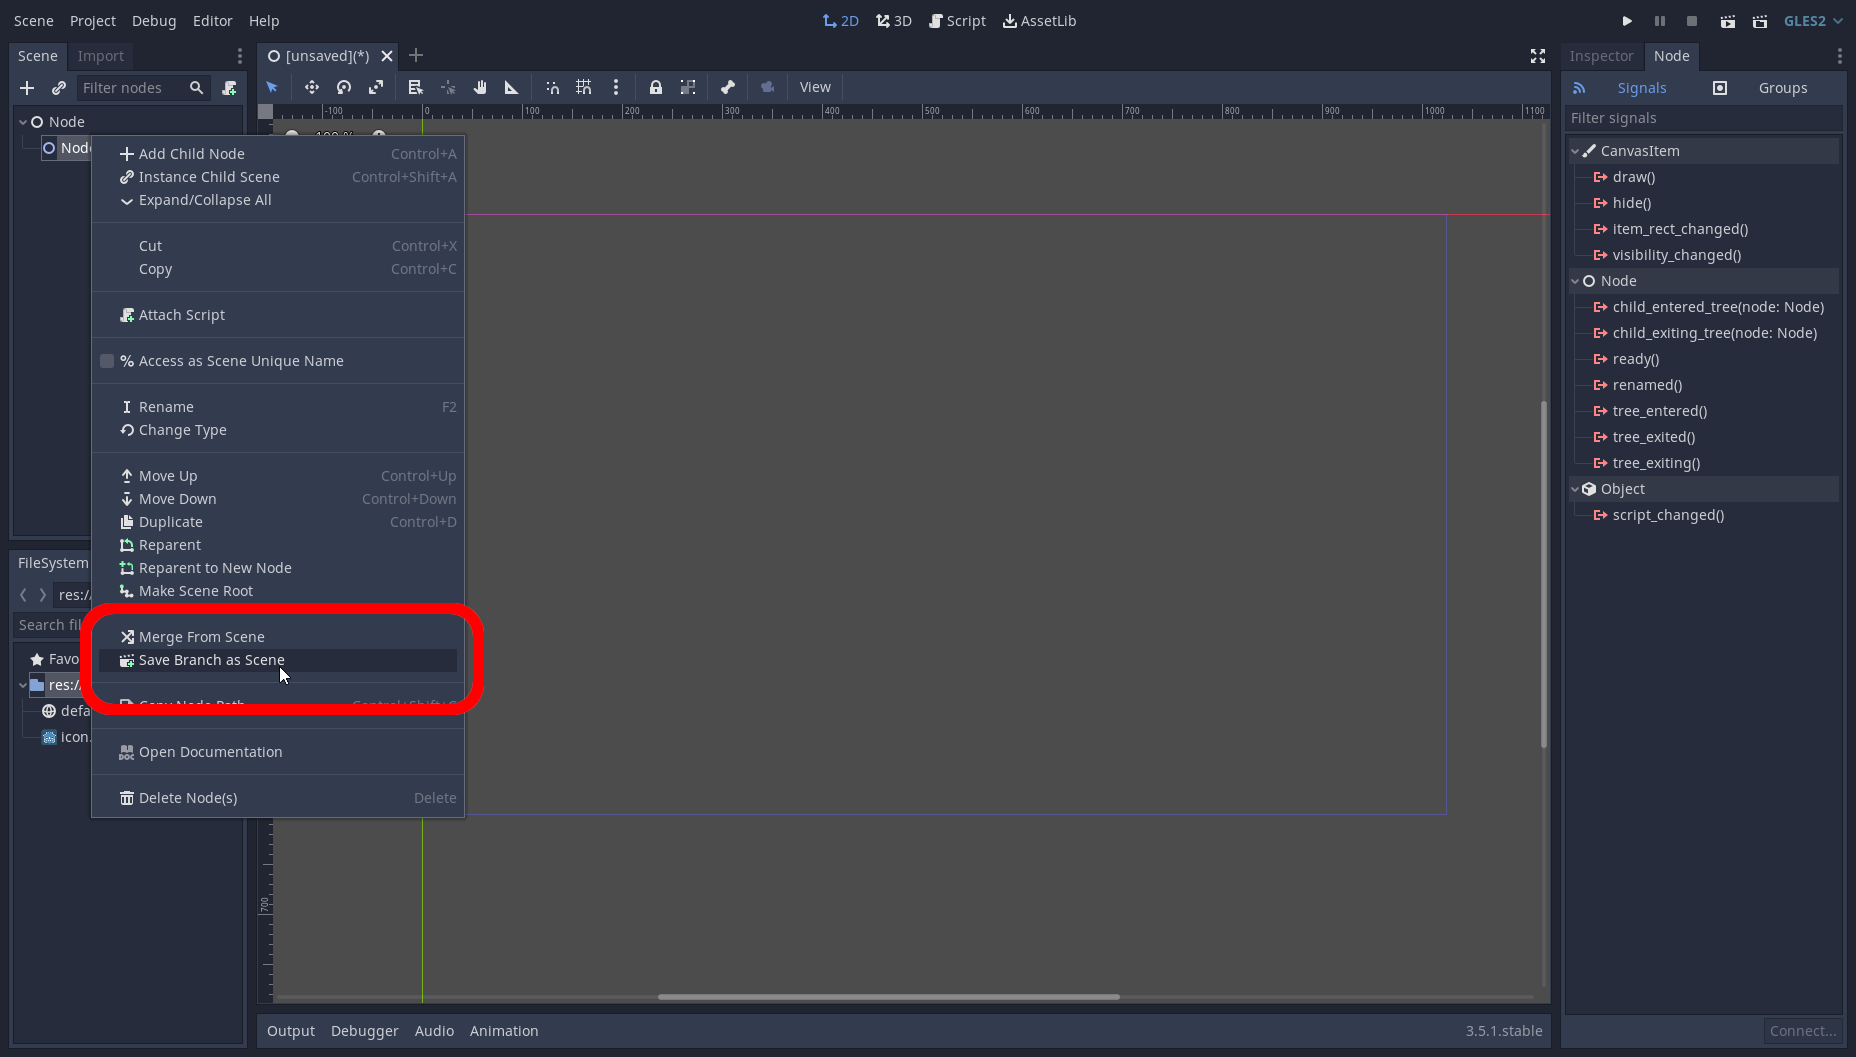
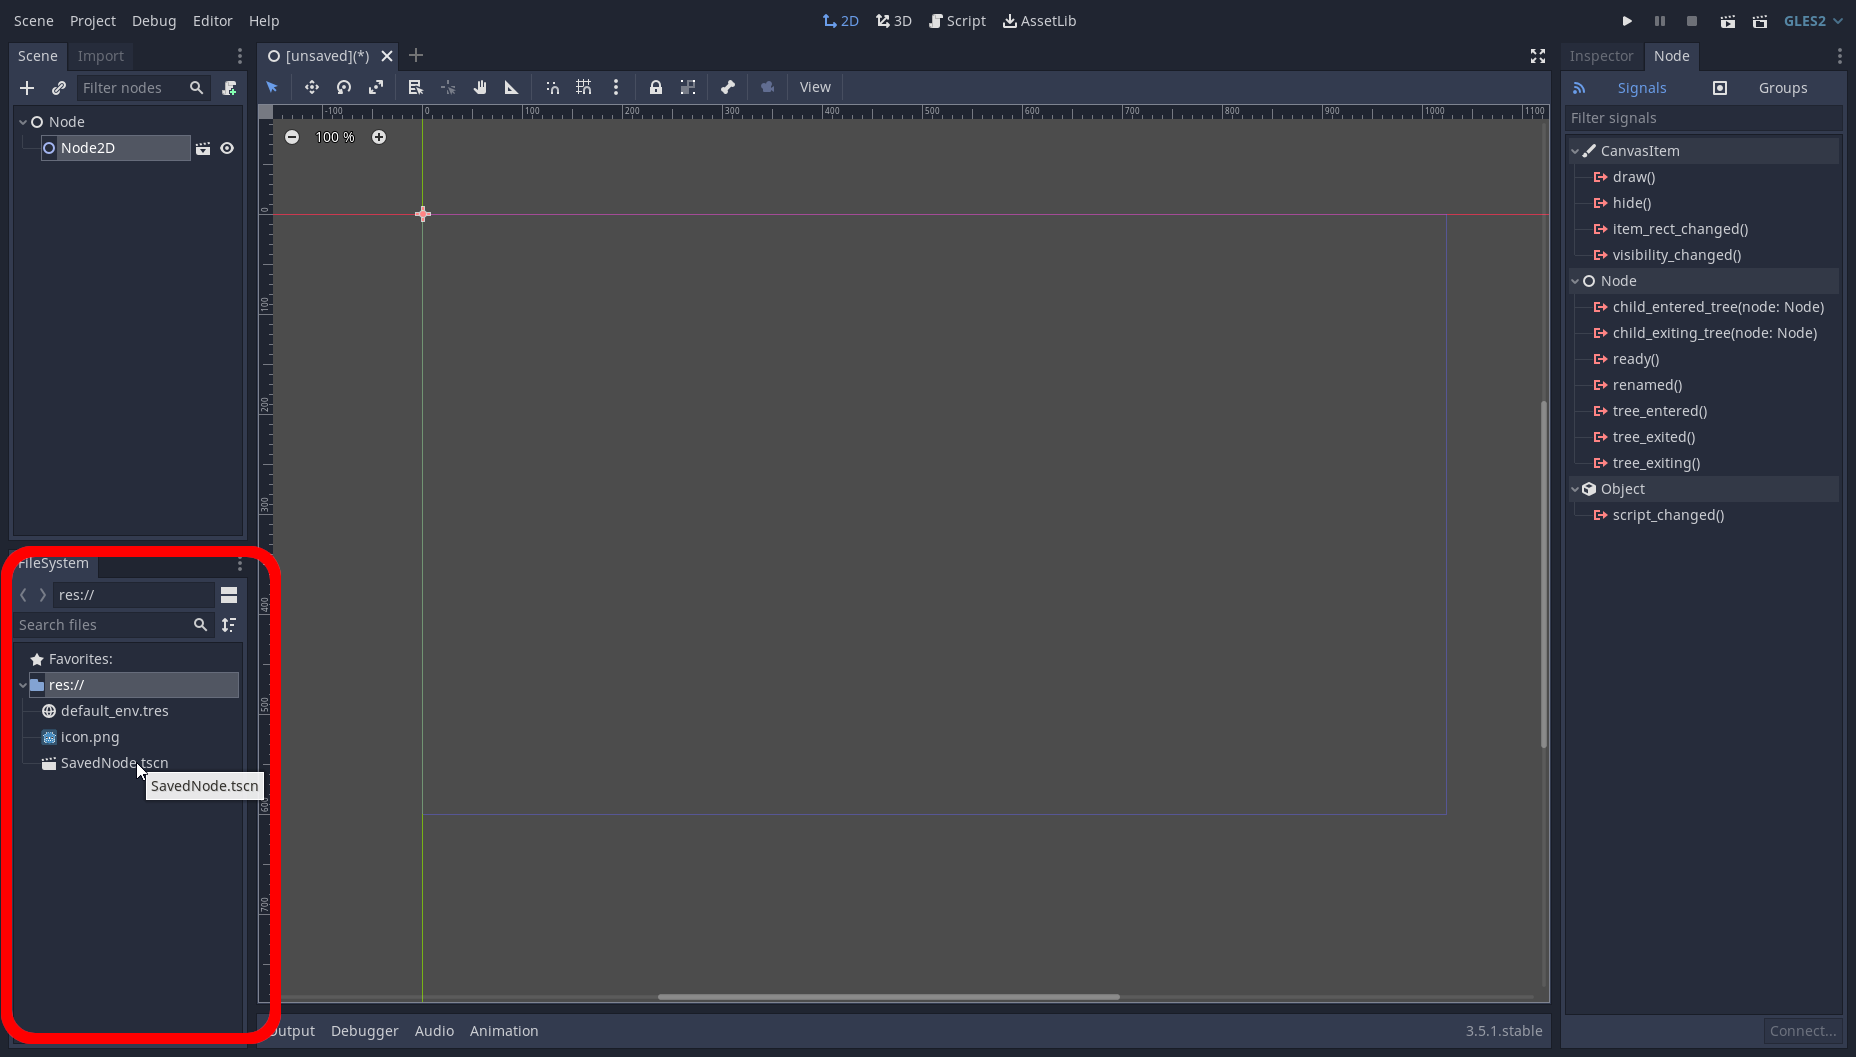
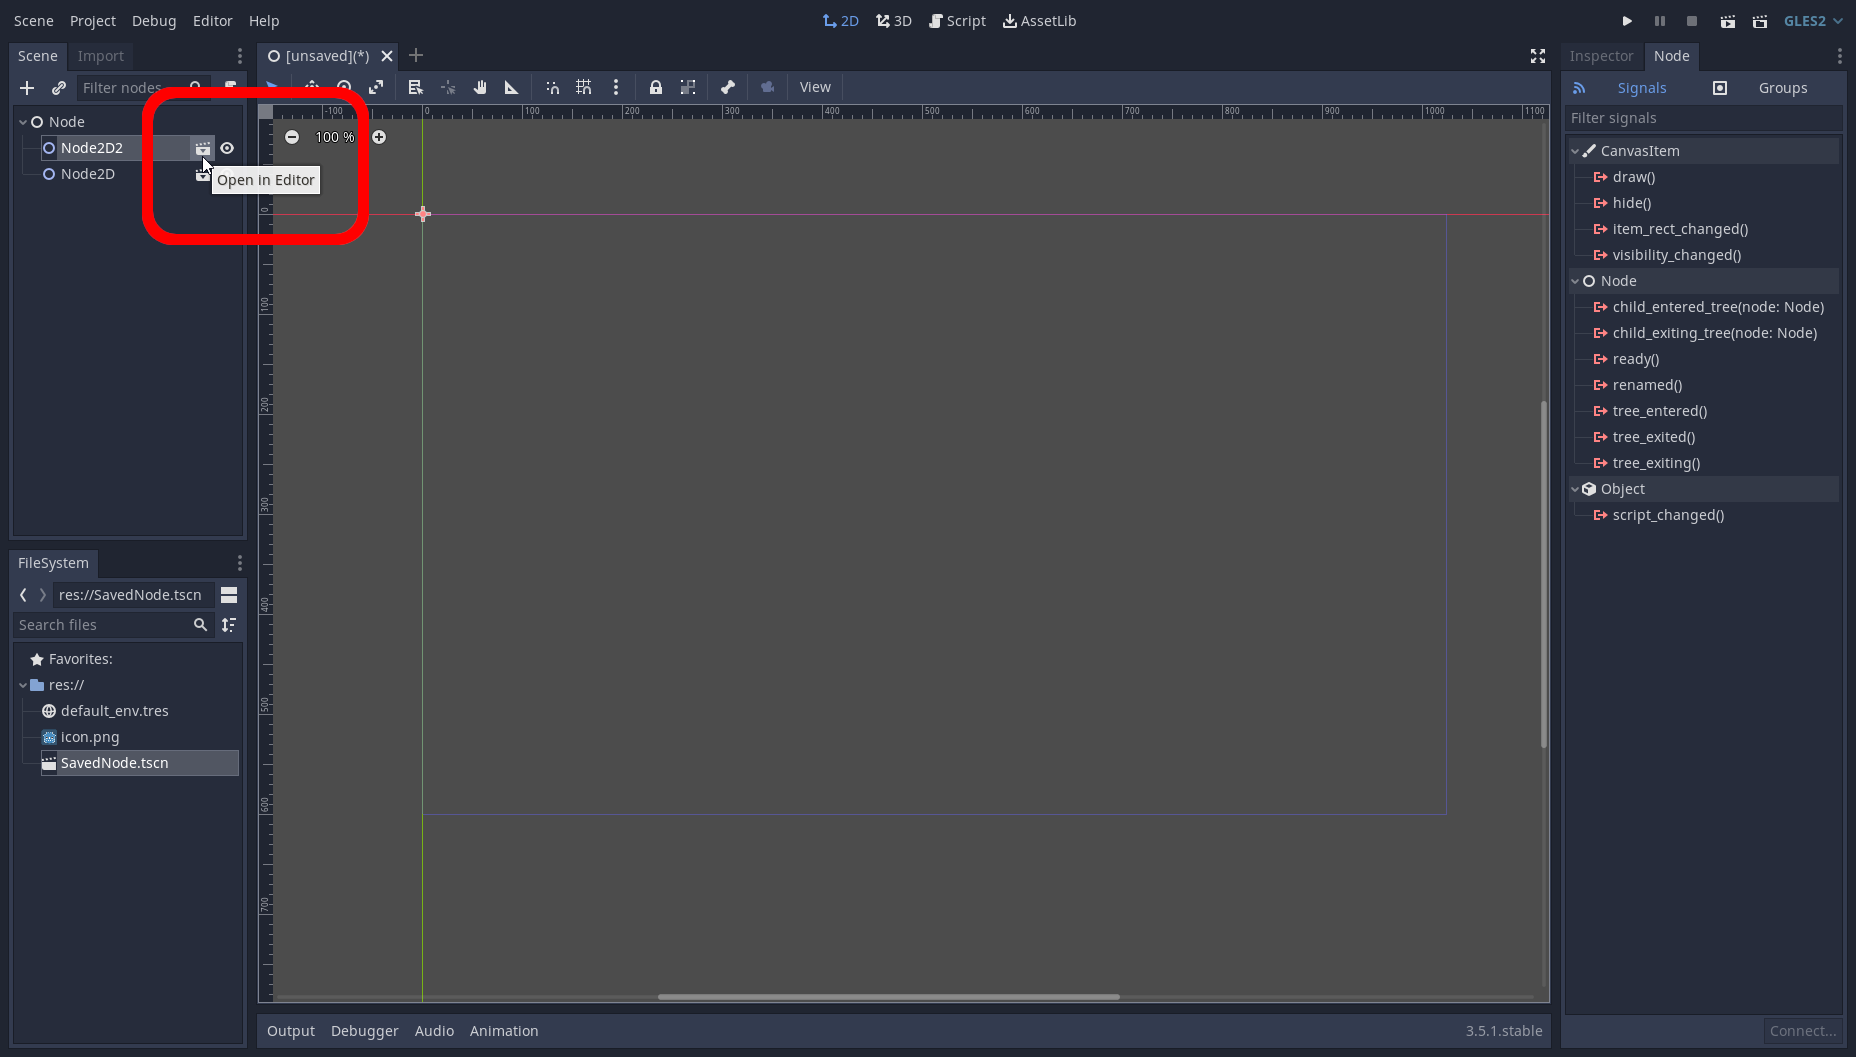
Now that we have our engine set up, we can begin to learn a bit about some of the tools that are part of Godot. The most important one, the nodes! >> What is a node? >> How to use nodes? >> Basic node aspects What is a node? A node in Godot is effectively an object that Godot uses to achieve specific features/attributes without needing to re-write the same thing over and over and over and over... The most commonly used nodes are as follows. These nodes are: >>>[ 2D, 3D ]<<< > [ Node2D, Spatial ]: These are the simplest forms of nodes, they act as containers > [ Camera2D, Camera ]: These are cameras, they allow you to follow things, or look around in a scene when active. > [ Sprite2D, MeshInstance ]: These nodes let you visualise either sprites, or models within their respective spaces. > [ StaticBody2D, StaticBody ]: These nodes allows for PhysicsBodies to run into/collide, think of it as a wall in its most basic form. > [ RigidBody2D, RigidBody ]: These nodes allows for Godot to simulate physics on. Similar in nature to a bouncy-ball after you throw it. > [ KinematicBody2D, KinematicBody ]: Instead of simulated physics, these nodes are entirely controlled by code, this is good for character controllers or extremely controlled movement. > [ Area2D, Area ]: Areas are generally used for detecting things that cross into it, for example, if a bullet hits an enemy. > [ CollisionShape2D, CollisionShape ]: This is a collision shape, when parented under an a Area or a PhysicsBody, it gives them their ability to detect things. Phew, that's alot to take in, and it's only scratching the surface of what Godot has in terms of nodes, you can even make your own, but that's a topic that we'll cover another time. However, I'm sure you can see that most of the common nodes are used for physics related activities, as if we had to re-write the physics every time we wanted to make something, it would likely be extremely taxing on the engine itself, so nodes create a unified environment for things in Godot. How to use nodes? So now that we know some nodes, lets try creating one, from the UI it's pretty straight forward. Head up into the top corner of the main UI, you'll find a few + buttons. For now, we're going to go with the main "+" button the cursor is hovering over. So now you're greeted with the node menu! Make yourself acquainted, click buttons, even try looking for the nodes from the previous section! Once you've had your fair share of looking around, let's just make a regular "Node", this node is neither 2D, or 3D, it's the basis of all nodes in Godot. It doesn't exactly do anything, as it's more of a placeholder type object, that can hold scripts. When you use autoload for scripts, they're generated at runtime. (More about that in the next section.) So to spawn the "Node" node, you click it once, to get the description, and double click to spawn it into the scene for usage. And ta-da, you now have your very own "Node" node to mess with! Now let's actually figure out what we can do with it. Basic node UI So, now that we have our node, lets try right clicking it. (1) If you right click the node, you get the context menu, this is where you can find renaming, child adding (more on that in a bit), instances, and other various in-editor functions to manipulate a node. (2) This is the Inspector, it holds all important information for a node, as this isn't a 2D/3D node, it lacks these attributes, but would have position and rotation for example if it was. (3) This is the Node Inspector, it allows for you to interact with the signal, and group systems, these are a bit too complex for now, but we'll get to them in another tutorial. Many things to remember as we go, some more useful than others, but lets hope you remember atleast some of it. So since we know what's relevant to the node UIs now, let's add a child node. This can be done through the context menu if you right click the node, and select "Add Child Node". Let's make a new "Node2D" this time, so we can access some of the more detailed UI, and see what it does. Congrats, you just made your first child node! But wait, the screen changed, did you do something wrong? Nope! This is normal, when you click a node that's a given type (2D/3D), it will automatically send you to the correct tab for editing. Now we're in the 2D portion of the editor, you can tell, cause well, there's not really any depth to it, it's just sorta gray. You can switch to 2D, 3D, or view scripts using the top bar. So, what should we do now... We should learn to save a node, so we can re-use it in the future! This is an important system in Godot known as "Instancing". It prevents you from having to spawn the same nodes over, and over, and over... So let's do it! Right click the "Node2D" we made, and click the "Save Branch As Scene" So now you can save it where-ever you'd like, this could be in a folder called "Scenes" or even just in the main folder. Now, if we want to call it back, you can use the right click menu, and press "Instance Child Scene", which is right under "Add Child Node" or optionally, we can go down into the "FileSystem" tab, and drop it into the node viewer where we would like it. And boom, you now know the basics of instancing a node through the editor. Two more things to show you, First, the name probably changed, as Godot needs to have different named nodes. Second, is how to edit these instances now, as you may notice a tiny icon on the instanced node, and the one you saved. Left click this little icon and it will open up the instanced node as a scene, this is actually the saved file on your computer! Any changes in this scene, that are saved, will change accordingly on the previous tab which you can find along the top of the scene view. Congrats! Now you know most of the basics of nodes from within the editor, please do explore and find new things! Next we'll be discussing some of the basics of scripting, and make some nodes do some things!
